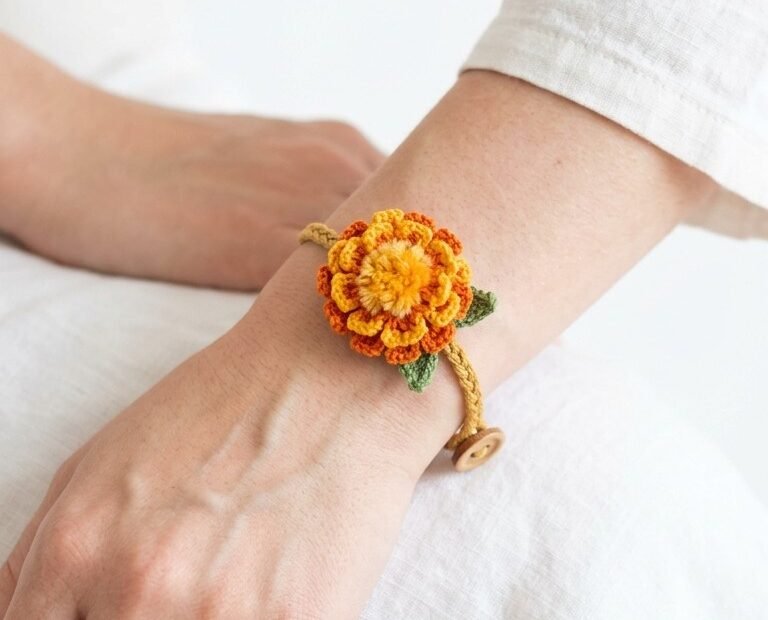
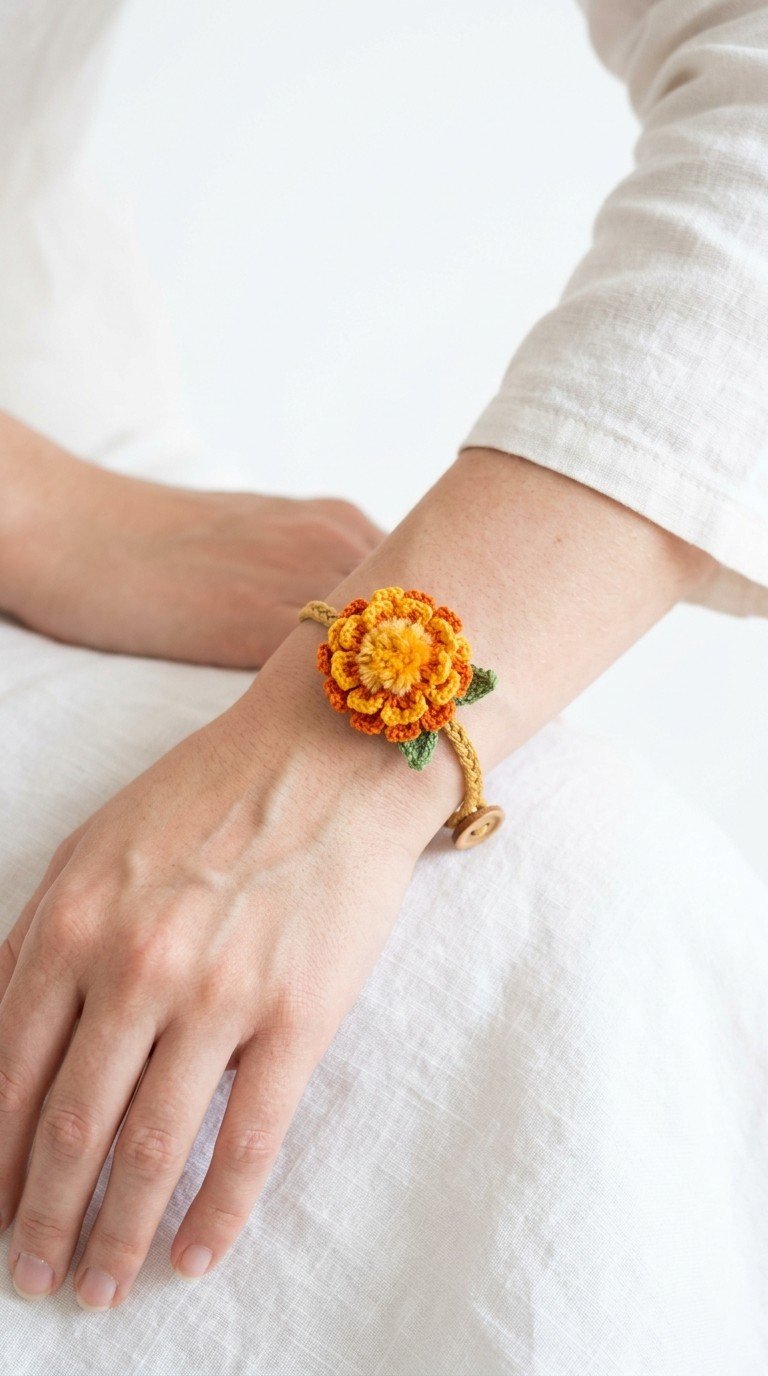
Add a vibrant touch of nature to your style with this delightful Crochet Marigold Flower Bracelet! Perfect for brightening any outfit, this pattern guides you through creating a charming, layered marigold bloom. Whether you’re a seasoned crocheter or looking for a fun new project, this bracelet is quick to make and wonderful to wear, bringing a burst of sunshine to your day.
Craft Your Own Unique Floral Accessory
There’s something truly special about wearing a piece you’ve made yourself. This Marigold Flower Bracelet allows you to express your creativity and personalize your look with handmade charm. It’s not just an accessory; it’s a wearable piece of art that reflects your passion for crochet, making it a perfect gift or a lovely treat for yourself.
DK weight cotton yarn in Bright Orange (e.g., Tangerine)
DK weight cotton yarn in Deep Orange (e.g., Burnt Orange)
DK weight cotton yarn in Light Yellow/Orange (e.g., Pale Peach)
DK weight cotton yarn in Olive Green
DK weight cotton yarn in Mustard Yellow (for band)
3.0mm crochet hook
Tapestry needle
Small wooden button (approx. 10-12mm)
Scissors
Abbreviations
ch – chain
sl st – slip stitch
sc – single crochet
hdc – half double crochet
dc – double crochet
tr – treble crochet
MR – Magic Ring
FO – fasten off
Instructions
Gauge: Not critical for this project, just ensure your stitches are consistent.
Flower Petal Base (Deep Orange Yarn):
Start with a MR. Ch 1, work 8 sc into the ring. Join with sl st to the first sc. (8 sc)
Outer Petals (Deep Orange Yarn):
Working into the back loop only of each sc from the Petal Base round: *Ch 3, work 3 dc into the same back loop, ch 3, sl st into the same back loop.* Repeat from * to * around for 8 petals. Sl st to join at the end.
Inner Petals (Bright Orange Yarn):
Join Bright Orange yarn with a sl st to the front loop only of any sc from the Petal Base round.
*Ch 2, work 2 dc into the same front loop, ch 2, sl st into the same front loop.* Repeat from * to * around for 8 petals. Sl st to join at the end. FO.
Leaves (Olive Green Yarn – Make 2):
Ch 6.
Sl st into the 2nd ch from hook, sc in the next ch, hdc in the next ch, dc in the next ch, tr in the last ch.
Ch 2, turn. Work back down the other side of the starting chain: tr into the same last ch (where the previous tr was made), dc in next, hdc in next, sc in next, sl st in the last (at the base of the first sl st).
FO, leaving a long tail for sewing.
Flower Center Pom-Pom (Light Yellow/Orange Yarn):
Create a small, dense pom-pom (approx. 1.5-2 cm diameter) using your Light Yellow/Orange yarn. You can use a pom-pom maker or fork method. Leave long tails for attaching.
Bracelet Band (Mustard Yellow Yarn – I-Cord Technique):
Ch 3.
Insert hook into the 2nd ch from hook, yarn over, pull up a loop (2 loops on hook).
Insert hook into the 3rd ch from hook, yarn over, pull up a loop (3 loops on hook).
Carefully slide the 2nd and 3rd loops off your hook, holding them with your non-dominant thumb and forefinger to prevent unraveling.
Yarn over and pull through the first loop on your hook. (1 loop remains, this is your new working loop)
Pick up the 2nd loop that you slid off, yarn over and pull through that loop. (2 loops on hook)
Pick up the 3rd loop that you slid off, yarn over and pull through that loop. (3 loops on hook)
Repeat the last three steps (‘Slide 2nd and 3rd loops off, pull through 1st loop, pick up 2nd loop and pull through, pick up 3rd loop and pull through’) until the I-cord measures approximately your wrist circumference minus 2 inches (5 cm). This allows for the flower and button closure.
To finish the I-cord: Sl st through all 3 loops on your hook. FO.
Assembly:
Attach Pom-Pom: Using the tails, sew the pom-pom securely to the center of the marigold flower. Weave in ends.
Attach Leaves: Position the two olive green leaves symmetrically on the back of the flower. Using the long tails, sew them firmly in place. Weave in ends.
Attach Bracelet Band: Sew one end of the Mustard Yellow I-cord to the back of the flower, centered between the leaves.
Button Closure: On the opposite end of the I-cord, securely sew the small wooden button.
Button Loop: On the I-cord end attached to the flower, create a small loop. Ch 5-7 (adjust as needed to fit your button), then sl st back into the I-cord to form a loop. Weave in ends.