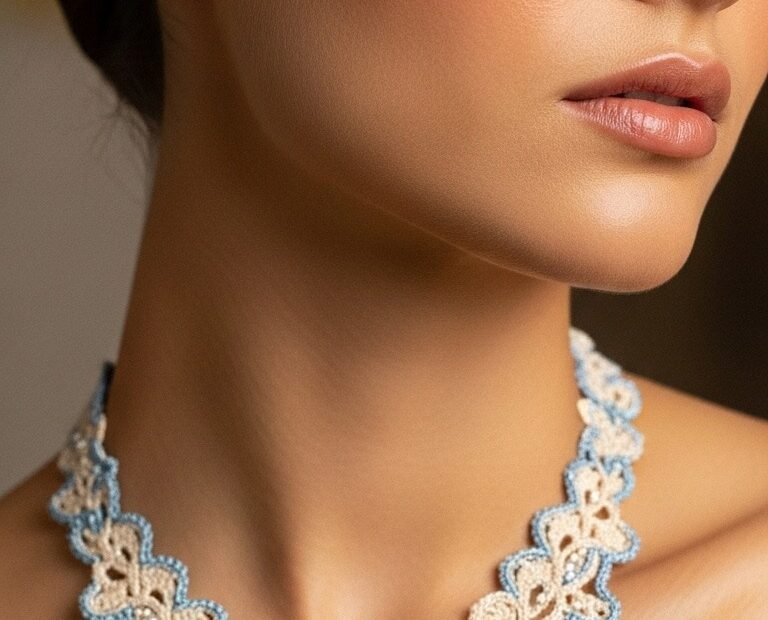
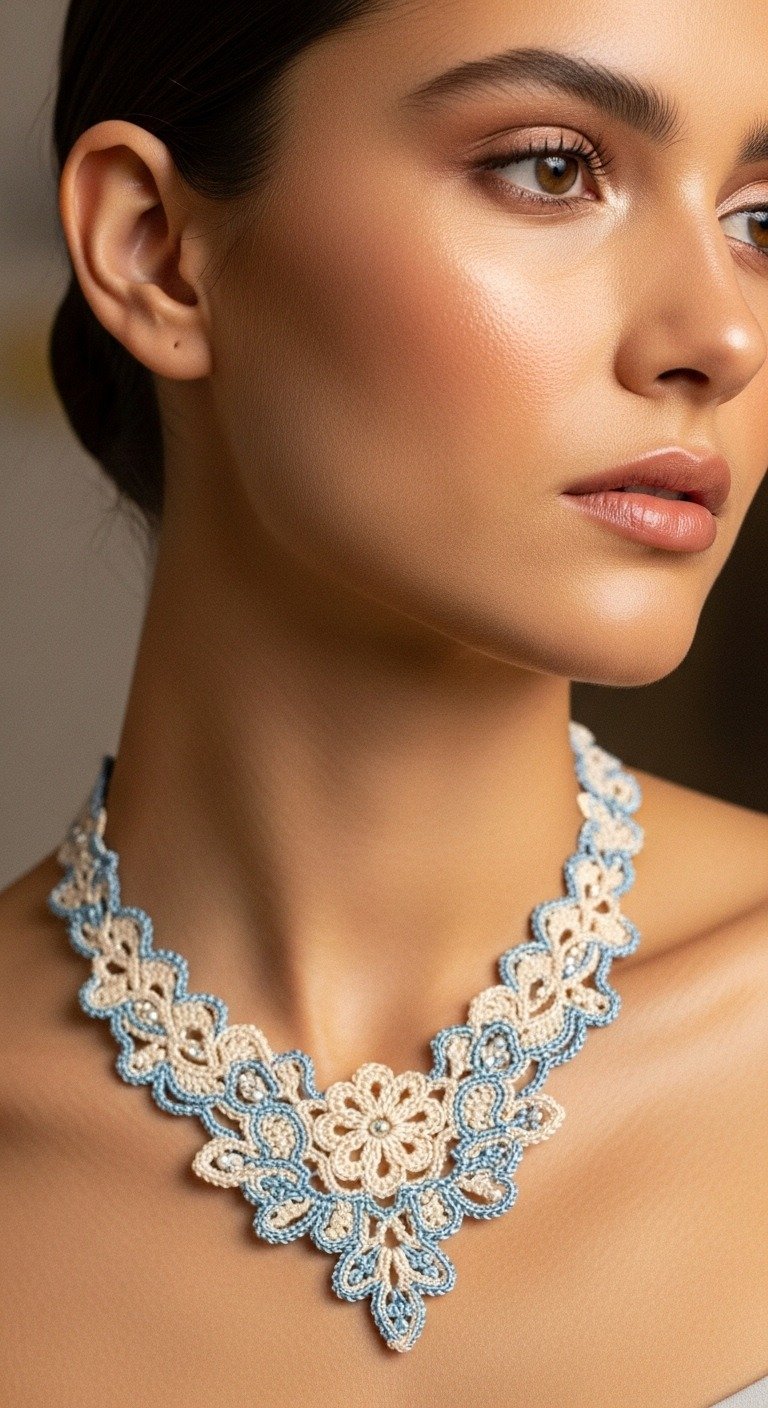
Discover the elegance of the Delicate Crochet Lace Necklace, a timeless accessory perfect for adding a touch of sophisticated charm to any outfit. This stunning piece, crafted with fine cotton thread in soft cream and light blue hues, mimics antique lace. Our detailed pattern allows you to recreate this exquisite floral collar, complete with sparkling bead accents, making it an ideal project for those who appreciate intricate crochet and unique, handmade jewelry.
Craft Your Own Heirloom: The Beauty of Handmade Lace
Handmade lace jewelry carries a unique charm and a story that mass-produced items simply cannot. This crochet necklace isn’t just an accessory; it’s a wearable piece of art, showcasing your skill and dedication. Imagine the compliments you’ll receive wearing a piece you crafted yourself, or gifting this special necklace to a loved one. It’s a project that combines therapeutic crafting with the joy of creating something truly beautiful and enduring.
Crochet Pattern: Timeless Elegance: The Delicate Crochet Lace Necklace Pattern
Materials
Crochet Thread, Size 10, in Ecru/Cream (Color A)
Crochet Thread, Size 10, in Light Blue (Color B)
Steel Crochet Hook, 1.75mm (US size 6 or 7)
Small clear rhinestones or beads (approx. 5-7)
Sewing needle
Matching sewing thread
Clasp for necklace
Tapestry needle for weaving in ends
Fabric stiffener (optional, for shape retention)
Abbreviations
ch: chain
sl st: slip stitch
sc: single crochet
dc: double crochet
tr: treble crochet
MR: Magic Ring
sk: skip
st(s): stitch(es)
picot: ch 3, sl st in 1st ch
Instructions
Part 1: Large Central Flower (Make 1 in Color A)
Foundation: Start with a Magic Ring (MR).
Round 1: Ch 3 (counts as 1 dc), 11 dc into MR. Join with sl st to top of Ch 3. (12 dc)
Round 2 (Petals): *Ch 3, (dc, tr, dc) into next st, ch 3, sl st into next st.* Repeat * to * 6 times. Join with sl st to first ch of first Ch 3. Fasten off, leaving a long tail for weaving in. Securely pull MR closed.
Using sewing thread, attach one small rhinestone to the very center of the flower.
Part 2: Small Scallop Motifs (Make 8 in Color A)
Foundation: Ch 4, join with sl st to form a ring.
Round 1: Ch 3 (counts as 1 dc), 9 dc into ring. Join with sl st to top of Ch 3. (10 dc)
Round 2 (Scallops): *Ch 2, (dc, tr, dc) into next st, ch 2, sl st into next st.* Repeat * to * 5 times. Join with sl st to first ch of first Ch 2. Fasten off, leaving a tail for weaving in.
Attach one small rhinestone to the center of 2-4 of these small motifs for extra sparkle, referring to the image for placement if desired.
Part 3: Assembling with Light Blue Edging (Color B)
This part requires careful placement and joining as you go. Lay out the large central flower and the small motifs to visualize the necklace’s V-shape. The large flower is at the bottom point of the V. Two small motifs go directly above it, then two more slightly to the sides, and so on, building up the sides of the V.
Starting Point (Necklace Strap): With Color B, ch 30 for one side of the necklace strap. (Adjust chain length for desired necklace fit).
First Small Motif Connection: Sl st into the peak of the first small scallop motif (from Part 2) at the end of your necklace layout. Ch 1, then work 1 sc into each st along one scallop edge, creating small picots (ch 3, sl st in 1st ch) at key points (e.g., at the peak of a scallop or where motifs join) for decorative effect. Continue along the edge of the cream motif, then chain across to the next cream motif, joining with a sl st or sc. The goal is to create a continuous blue lace border that outlines and connects all cream motifs.
Connecting Motifs: When joining two cream motifs together, use sl st or sc stitches to bridge the gap and secure them. The blue yarn will form decorative chain spaces and picots between the motifs, mimicking the intricate lace elements seen in the image.
Working the V-Shape: Begin by outlining the two small scallop motifs directly above the large central flower. Then, connect and outline the large central flower, working the blue border around its petals, joining with sl st or sc to its tips, and adding picots or small chain spaces as you go.
Continuing the Second Side: After outlining and connecting the central flower and the motifs on the first side of the V, continue the same process up the second side of the V, joining the remaining small scallop motifs with the blue yarn and creating the decorative border.
Finishing the Second Strap: Once all motifs are connected and the V-shape is complete, ch 30 for the second necklace strap. Fasten off.
Finishing Touches: Weave in all loose ends securely. Attach the clasp to the ends of the ch 30 straps.
Optional: For a stiffer necklace, gently apply a fabric stiffener according to package directions and let dry completely while shaping the necklace.